How to Install SPC Flooring: Subfloor Prep and Climate Control
Proper SPC flooring installation relies on a level, dry subfloor and stable site conditions. This guide covers subfloor preparation, moisture testing, and temperature management to prevent common defects like buckling, gaps, and squeaking.
- Subfloor flatness and dryness directly determine the performance of rigid SPC planks.
- Temperature and humidity must be stabilized before installation begins.
- Acclimation time prevents dimensional changes after the floor is laid.
- Proper underlayment and expansion gaps protect the installation from movement.
- Final verification catches installation errors before they become permanent defects.
Prerequisites and Site Readiness
Before lifting a single plank, the job site must meet specific technical conditions. SPC flooring is a rigid core product, but it still reacts to dimensional changes. If the subfloor is wet or uneven, the planks will not sit flat. If the room temperature drops below the recommended range, the material becomes less flexible during installation.
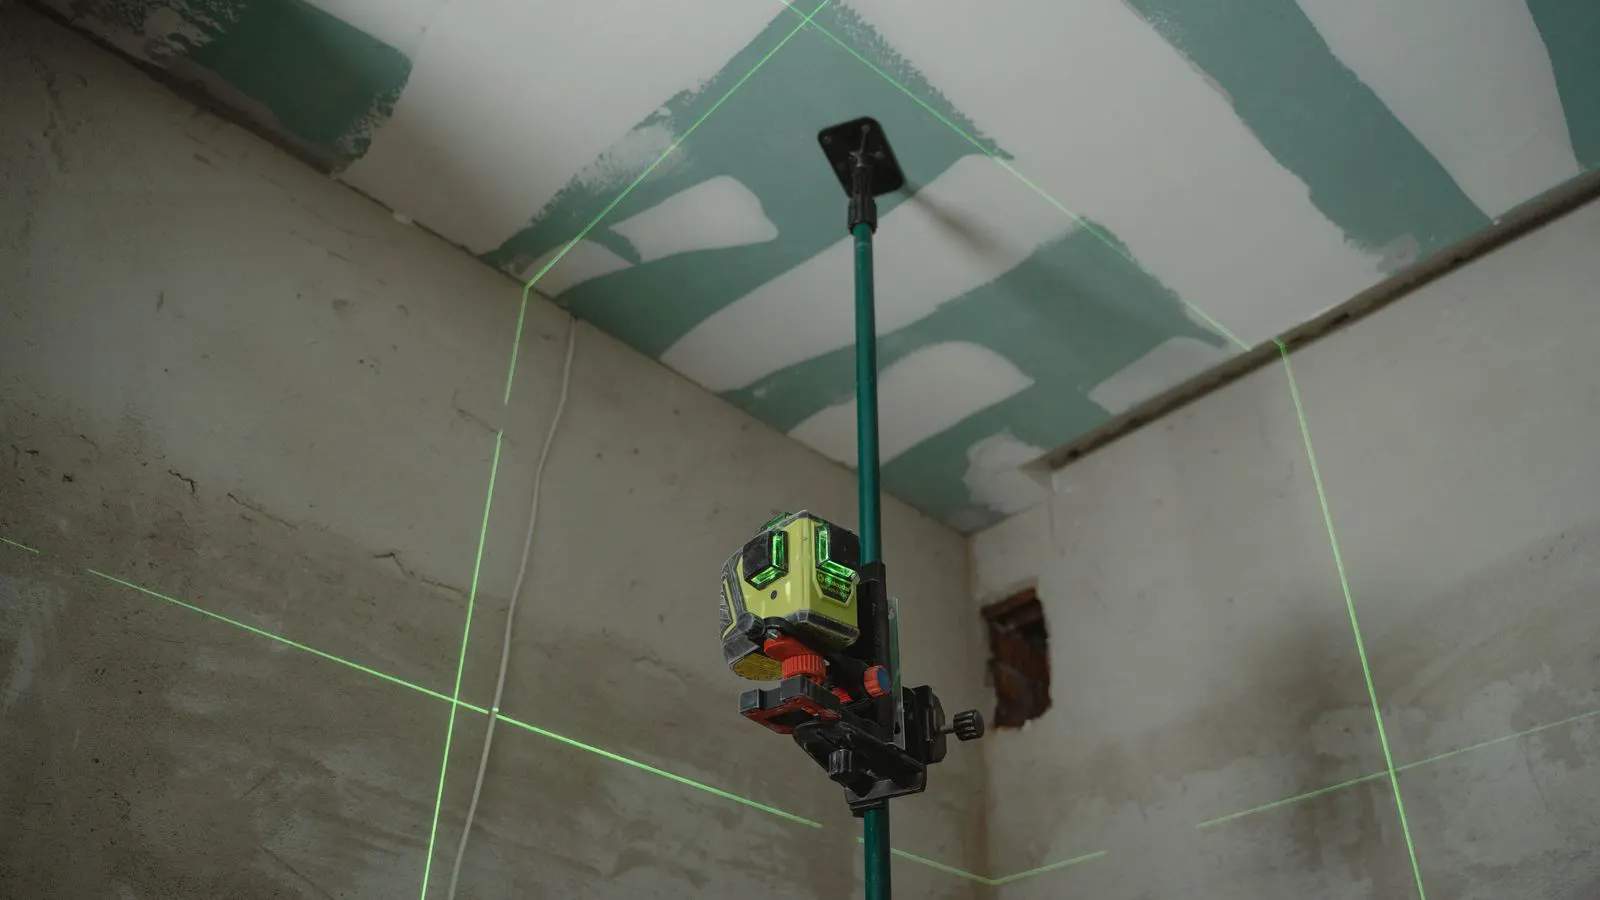
You need the following materials and tools before starting the work. You will need a laser level or a long straightedge to check flatness. A moisture meter is required to verify subfloor dryness. A taping knife or trowel is needed for smoothing out imperfections. You also need the manufacturer approved underlayment and a measuring tape. The installation area must be clear of debris, dust, and loose particles.
Check the manufacturer data sheet for the specific product. Different SPC cores have different requirements for flatness and moisture tolerance. Some products allow a flatness tolerance of 3 mm over 3 meters. Others require a stricter standard. Do not assume the subfloor meets the requirement without testing. A visual check is not enough. You must measure the surface.
Subfloor Preparation and Flatness
The subfloor is the foundation of the entire installation. For SPC flooring, the subfloor must be clean, dry, level, and structurally sound. Concrete and wood are the two most common subfloor types. Each requires different preparation steps.
For concrete subfloors, start with a thorough visual inspection. Look for cracks, spalling, or loose material. Any loose concrete must be chipped out and repaired with a suitable patching compound. Apply a self leveler if the surface is uneven. A self leveler creates a smooth and flat surface that supports the rigid core. Allow the self leveler to cure fully before proceeding. The manufacturer will specify the cure time. Do not rush this step.
For wood subfloors, check the fasteners. All nails and screws should be flush with the surface. Raise any low spots with a wood filler or a leveling compound. Ensure the wood is not warped or cupped. A warped subfloor will transfer unevenness to the final floor.
Use a laser level or a 3 meter straightedge to check flatness. Place the straightedge on the subfloor and measure the gap underneath. If the gap exceeds the manufacturer specification, correct the subfloor. This step is often skipped by installers. It should not be. A flat subfloor prevents rocking, squeaking, and uneven wear.
Moisture Testing and Dampness Control
Moisture is the most common cause of SPC flooring failure. Even if the product is rated for damp environments, the subfloor must be dry. High moisture levels can lead to adhesive failure, dimensional changes, and discoloration.
For concrete subfloors, perform a moisture test. There are two common methods. The first is a relative humidity test. You place a plastic sheet on the concrete and seal the edges. Wait for the specified period. Then check for condensation underneath. The second method is a direct moisture meter. This device measures the moisture content of the concrete.
If the moisture level is too high, you cannot proceed. You must allow the concrete to dry naturally or use a chemical moisture barrier. A moisture barrier is a liquid or membrane that blocks vapor from reaching the floor. Apply the barrier according to the product instructions. Let it dry completely.
For wood subfloors, check the moisture content with a meter. The wood must be within the specified range. If the wood is too wet, it will expand and contract as it dries. This movement can lift the SPC planks or create gaps.
Climate Control and Acclimation
Temperature and humidity affect the behavior of SPC flooring. The material expands in heat and contracts in cold. If you install it in a cold room, the planks will be tight. As the room warms up, they will expand and push against each other. This can cause buckling.
Acclimate the planks to the installation environment. Open the boxes and leave the planks in the room for the specified time. Most manufacturers require 48 hours. Some require longer. The room temperature should be between 15 degrees Celsius and 25 degrees Celsius. Humidity should be between 30 percent and 70 percent.
If the room is too cold, you can use a space heater to raise the temperature. Do not use a heat source that directly blows air on the planks. This can dry out the material unevenly. If the room is too humid, use a dehumidifier. Run the dehumidifier for the full acclimation period.
Climate control is not just about comfort. It is about material stability. The planks must reach equilibrium with the room before installation. This prevents post installation movement.
Underlayment and Installation Steps
Once the subfloor is prepared and the planks are acclimated, you can begin the installation. SPC flooring is usually a click lock system. You do not need adhesive. However, an underlayment is recommended. It provides sound insulation and a smooth surface.
Roll out the underlayment. Overlap the seams by 50 mm. Tape the seams to prevent them from shifting. The underlayment should cover the entire floor area. It should extend up the walls if required.
Start the first row along the longest wall. If the row is short, cut the first plank to fit. Leave an expansion gap of 10 mm to 15 mm along the walls. This gap allows the floor to expand and contract. Do not fill the gap during installation.
Lock the planks together using the click mechanism. Press the tongue and groove firmly until they click. Check the row for level. Use a straightedge to verify the surface. If a plank does not sit flat, stop and check the subfloor. Do not force the planks. Forcing can damage the core and the locking mechanism.
Continue installing the planks. Stagger the end joints by at least 300 mm. This prevents aligned joints, which can crack under load. Cut planks with a utility knife or a dedicated SPC cutter. Wear eye protection when cutting.
Common Mistakes to Avoid
Installers make several mistakes that lead to premature failure. The most common mistake is skipping the subfloor check. A slightly uneven surface may look fine to the eye, but it will cause problems later. The planks will rock, and the seams will open up.
Another mistake is ignoring acclimation time. Installers often install planks immediately after delivery. This causes the floor to move after installation. You will see gaps or buckles a few days later. Acclimation is not optional.
Poor underlayment installation is another issue. If the underlayment is not taped or is rolled up, it will shift during installation. This creates a bumpy surface. The planks will not lock evenly.
Finally, installers often skip the final verification. They finish the room and walk away. They do not check for rocking, gaps, or uneven seams. A quick final walk can catch these issues before they become permanent.
Final Verification Step
Once the installation is complete, perform a final verification. Walk across the floor. Listen for squeaks or clicks. Check for rocking planks. Place a straightedge across the floor. If you see a gap, the plank is not seated properly.
Check the expansion gaps. They should be uniform and unobstructed. Do not place heavy furniture or rugs over the floor immediately. Allow the floor to settle. Wait 24 hours before walking on it with heavy foot traffic.
Inspect the joints. The seams should be tight and even. If you see a gap, it may be due to temperature change or improper locking. Correct any defects immediately. It is much easier to fix a mistake now than after the floor has been in use for a week.
Document the installation. Take photos of the subfloor, the acclimation period, and the final floor. Keep the manufacturer warranty card. This documentation is useful if a warranty claim arises in the future.
Frequently asked questions
Can I install SPC flooring over existing tile?
Yes, if the tile is flat, clean, and firmly bonded to the subfloor. Check the flatness tolerance. If the tile is uneven, you may need to remove it or apply a leveling compound.
What happens if the room temperature is too low during installation?
The planks will be less flexible. They may not lock properly. As the room warms up, the floor may expand and create gaps or buckles.
Do I need an underlayment for SPC flooring?
It is recommended. It provides sound insulation and a smooth surface. It also helps with the click lock mechanism.
How long should I acclimate the planks?
Most manufacturers require 48 hours. Check the product data sheet for the specific requirement. Do not install the planks before the acclimation period is complete.
Can I install SPC flooring in a humid environment?
Yes, if the subfloor is dry and the humidity is within the specified range. Use a moisture barrier if needed. Control the humidity with a dehumidifier. ===END===